
Learning Light Within Landscapes
Mood: Emerging clarity | Post Type: Work Spotlight | Weeks Until Show: 27
Facing the light
In my last blog, I mentioned my latest learning quest. There are always many threads I’m exploring, but learning how to bring light into my landscapes feels different — less fleeting, more necessary — so I thought I’d share what I’ve discovered so far. I’ve long recognised that understanding light is something of a blind spot for me, an inner voice I’ve listened to for far too long. It traces back to my photography days; lighting was never fully taught during my degree, and stepping into the industry felt harder because I knew a foundational piece was missing. Showing my age a little — although not that long ago — our main references were books, and expensive courses offered only small nuggets of insight. My career eventually took a very different direction, so it was never something I truly needed to resolve… until now.
Where scale changes everything
As I begin to settle into my process for making larger landscapes, it’s become less about whether the method itself is right and more about whether the landscape reads as art. Scaling up successful pendants has revealed this as a real sticking point. Because I document every make, I can easily trace the four layers of a previously made pendant, and translating them into larger formats felt like a ready-made recipe — an easier win. Yet the results often fell flat. At a smaller scale, light wasn’t as critical; the work read convincingly in miniature. But as the landscapes grow, there is far more for the viewer to take in, more space for the eye to travel, and without a stronger sense of light direction, the landscape doesn’t resolve in the way I want it to.
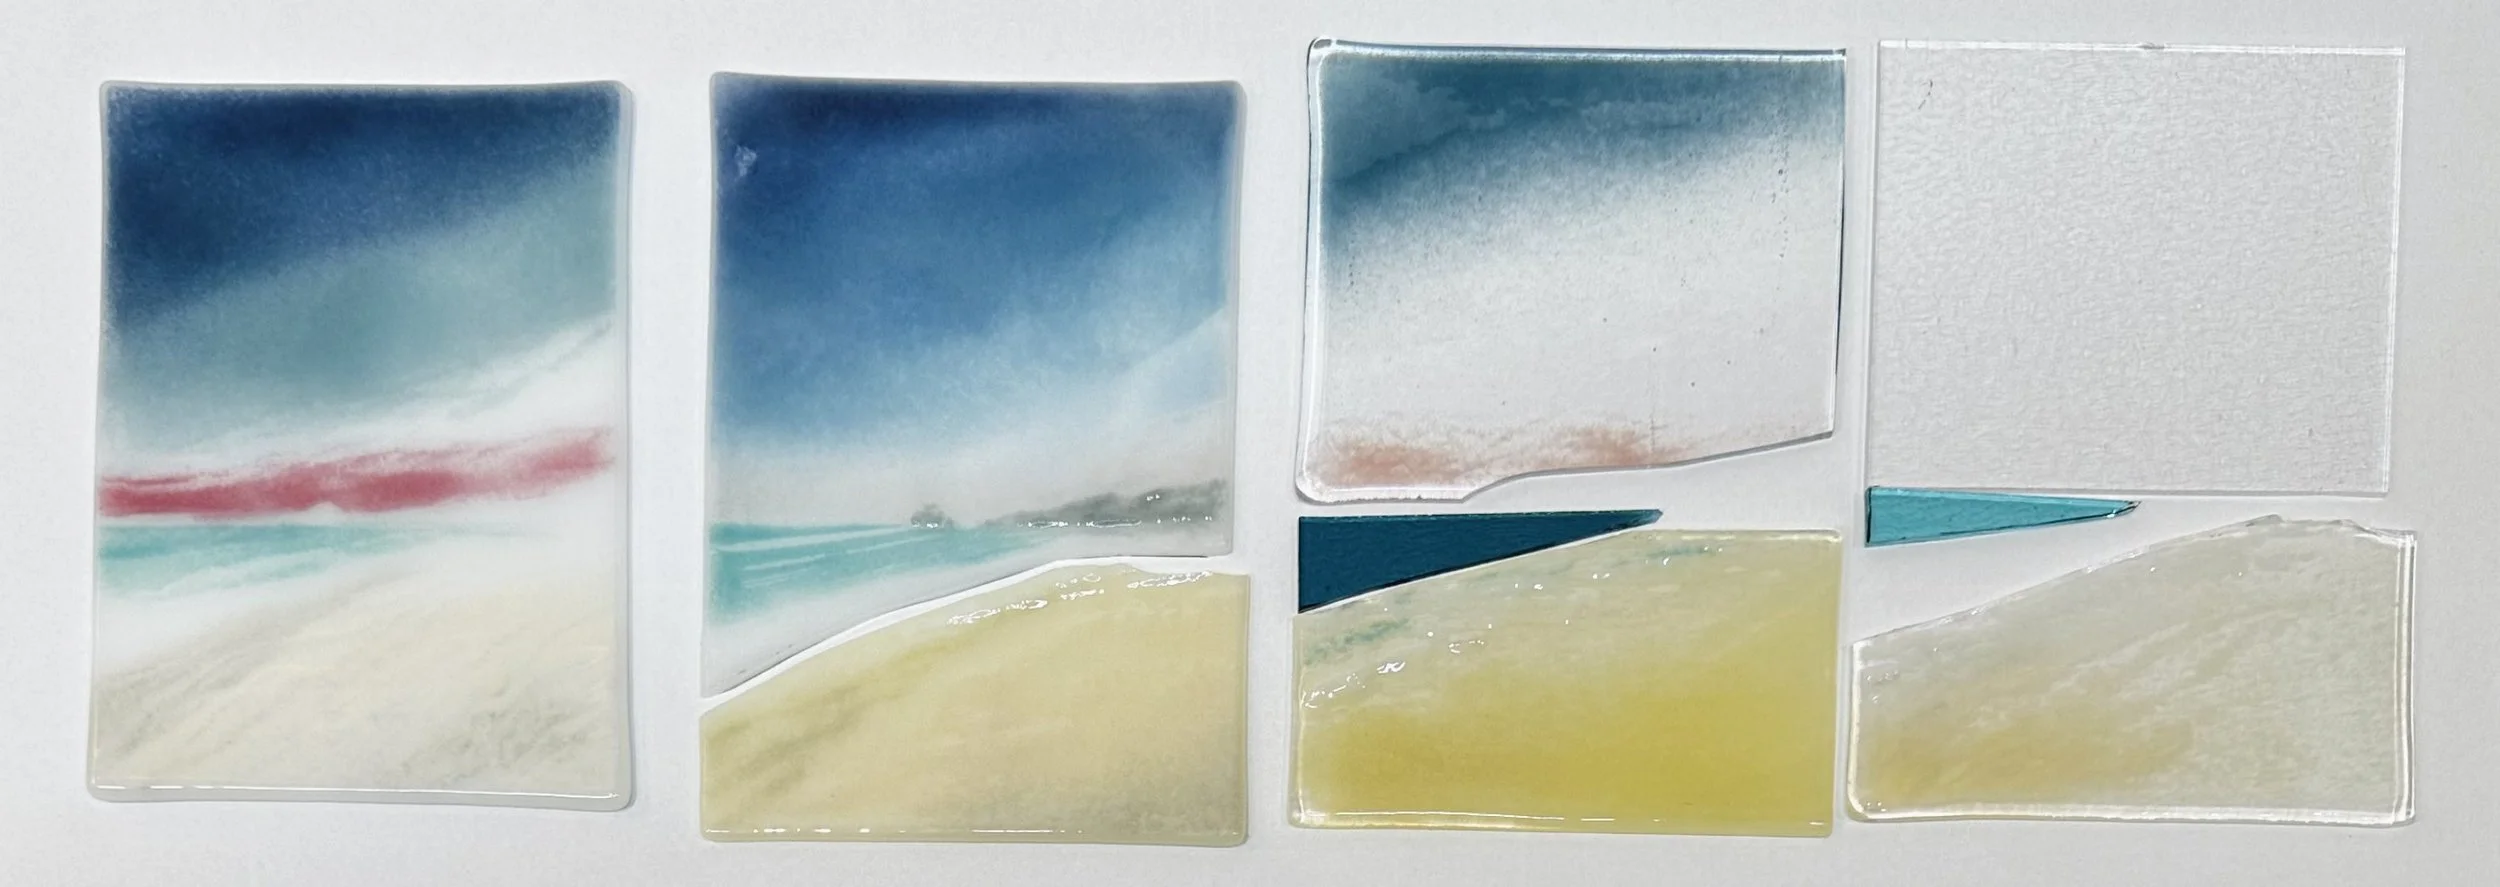
Four individually designed glass layers that build a coastal scene — a landscape developed completely from scratch.
When the light doesn’t agree
One successful piece was designed entirely from scratch (above), and while it worked, the time it demanded made me realise I needed other options. I thought I had three clear paths: designing from scratch, creating my own reference images, or scaling up my pendant designs. The first, although deeply enjoyable, takes a ridiculous amount of time. The latter, while still grappling with the lighting challenge, already carries tried-and-tested colour recipes. So making my own reference images felt like a middle ground — still original, but without starting from a completely blank page.
Or so I thought.
I collaged together a sky I loved from a beach scene and replaced the sea and sand with a moorland photograph I’d taken. I translated this into a single-layered glass study, trying to establish composition, value, and colour. In my eyes, it was a disaster — although my mum, rather wonderfully, seems to like it. To me, it looked as though I had simply scattered glass powders without intention… my less polite description being that it resembled vomited glass powders.
Only afterwards did I realise what had gone wrong. I had combined two landscapes where the light was behaving completely differently. Whether I’m scaling up a pendant or designing from scratch, without understanding the light, the landscape will feel disjointed.
So what does light actually do?
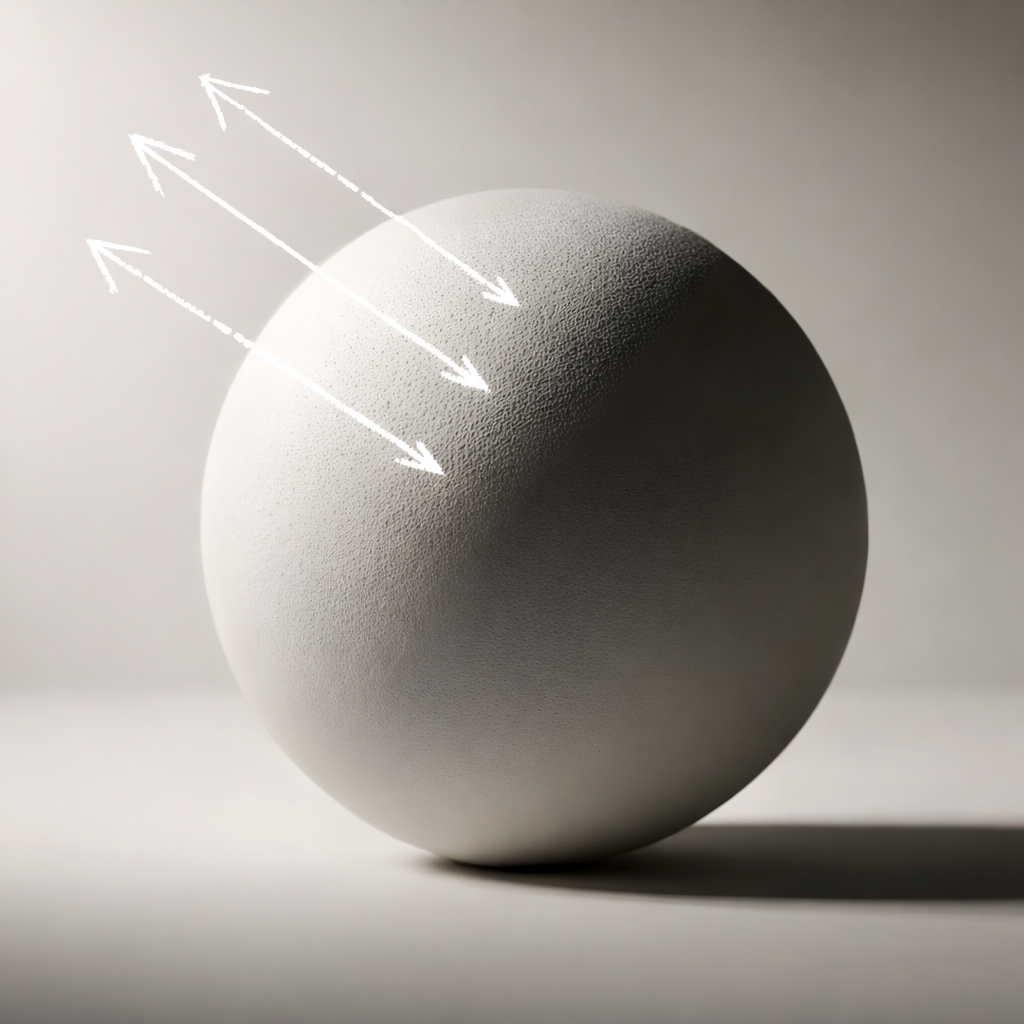
So what does light do to a landscape? Theoretically, I knew the basics — place a harsh light on a spherical object and you begin to see the principles at play: highlight, form shadow, cast shadow.
Confession time…
I tried to recall all of this from memory, ended up Googling, and was immediately reminded why I’ve avoided this subject for so long. The sheer number of terms — many describing almost the same thing — and all the subtle nuances of what light can be doing… it’s enough to make your head spin. Depending on who you read, there are five types of light, or closer to twelve: highlight, centre light, halftone / mid-tone, terminator, core shadow, reflected light, cast shadow, ambient light, rim light, diffuse light. Yes, overwhelming!!!
Thankfully, a landscape offers a broader plane to work within. In many ways, I only need to suggest light — a gentle indication of its direction rather than a fully rendered study. My work has never been about absolute detail; it sits somewhere closer to the semi-abstract. And then there is the reality of the material itself — glass behaves as glass wants to behave. I’m layering opaque and transparent glass, working with the shifts and stretch that happen when the layers compress, and once fired everything locks in; no tweaks or adjustments, what’s done is done. So in reality there is only so much I can truly control, and perhaps my role isn’t to describe the light perfectly, but simply to let it be felt.
Grappling with light
And so my journey began — learning how light behaves. But for that learning to be useful, I needed a methodology, something repeatable that I could return to rather than feeling overwhelmed. Over weeks, I found myself returning to three core aspects of light:
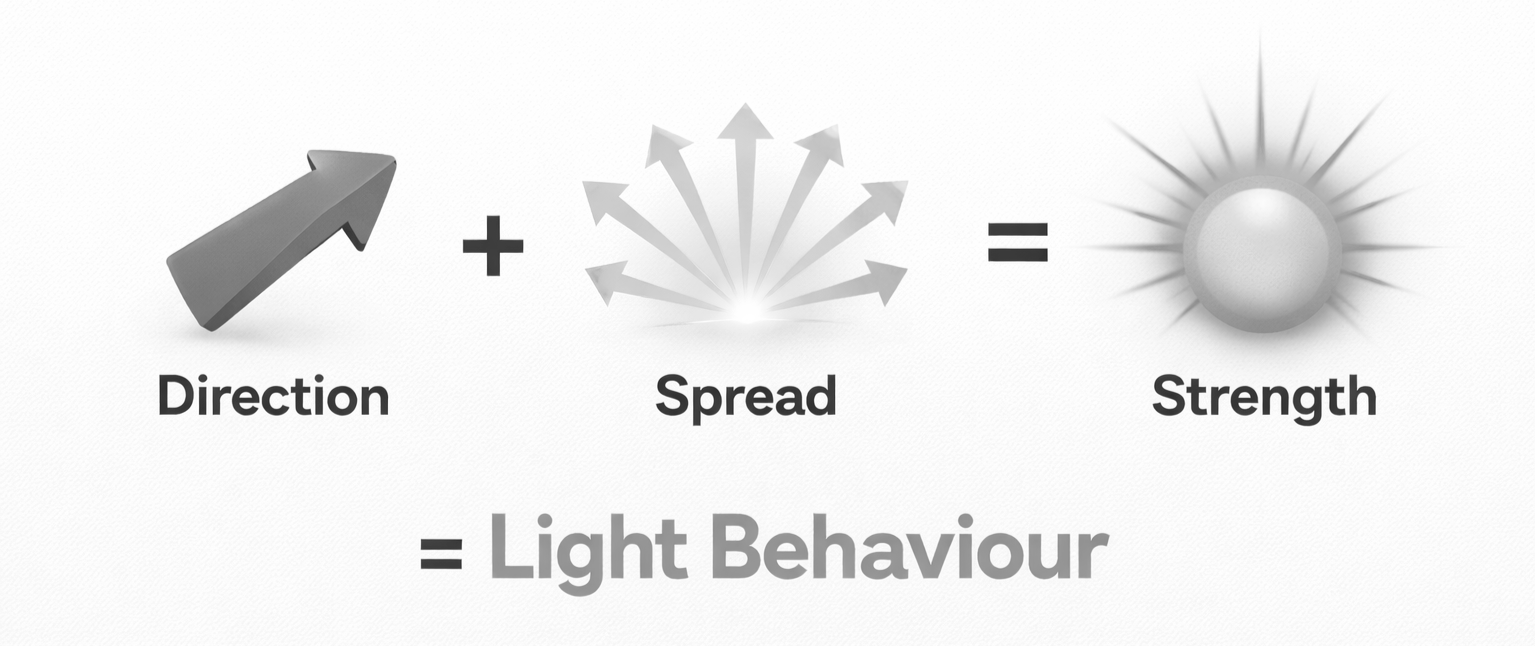
Direction — where it comes from
Spread — how far it travels
Strength — how intense it feels
In my head, these three elements began to form a simple equation:
Direction + Spread + Strength = Light Behaviour — the way light acts, and the pattern that begins to emerge within the landscape.
Finding structures within light
Once I began thinking about light through direction, strength, and spread, I found myself looking for repeatable structures — ways of recognising light that felt practical.
Light Direction
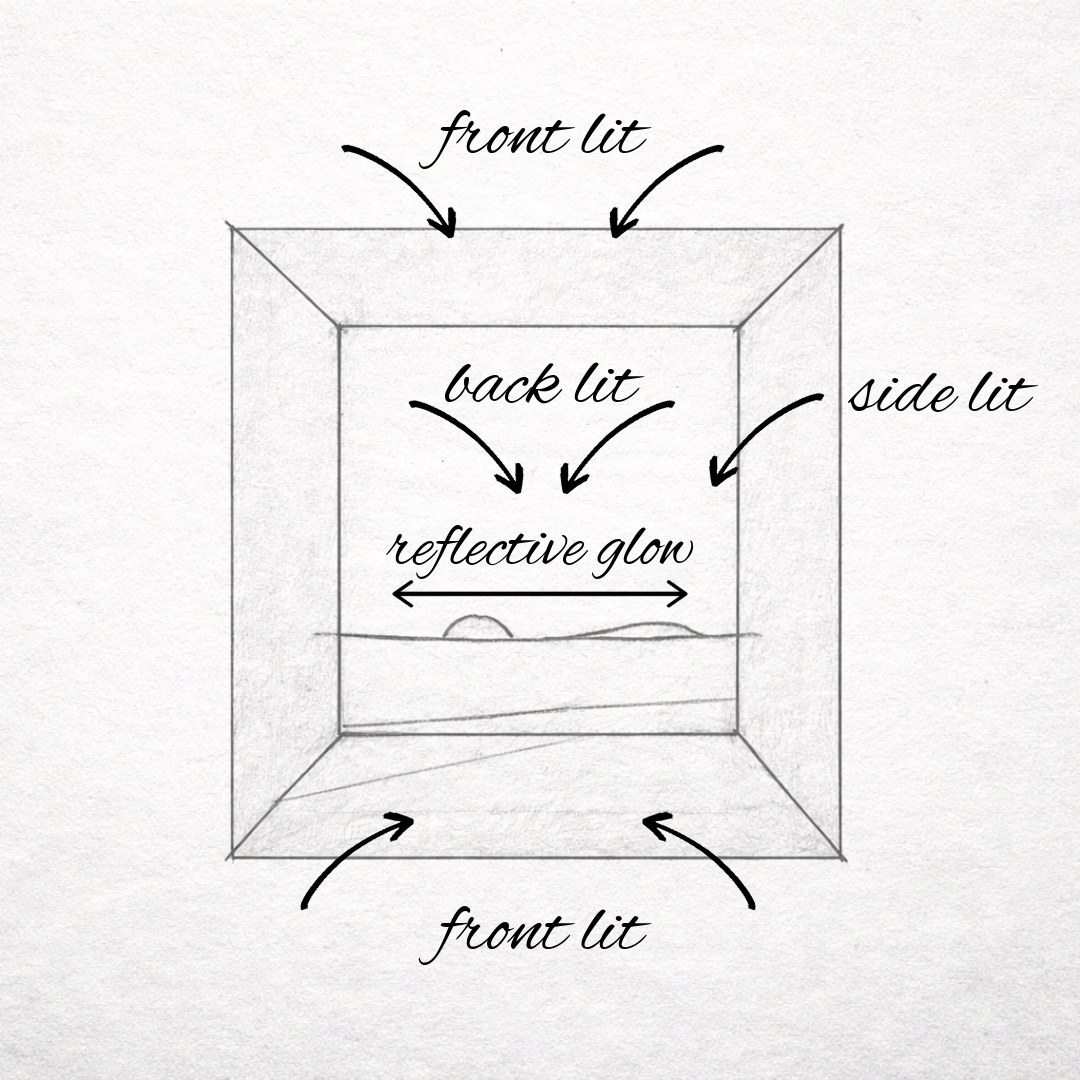
Initially, I realised I kept returning to four directions of light: front lit (light falling across the landscape in front of the viewer), backlit (the viewer looking towards the sun, with the scene more silhouetted), side-lit (where the light travels across the landscape from the side — the viewer turned slightly sideways, making highlights and shadows easier to read), and what I came to call the reflective glow — that quiet, diffused light that lingers when the atmosphere softens it, or when the sun has dipped but the ground still holds illumination.
Sketching the invisible
But depicting all of this became the real challenge. I’d love to be able to sketch or paint my ideas properly, yet this is another area where I know I have a blind spot — one I’ve promised myself I’ll return to after the solo show. For now, I needed something simpler. So turning to arrows to map direction, strength, and spread in a way that felt manageable.
I started with a simple rectangle to represent my landscape and began sketching arrows, but I quickly struggled with how to depict a front-lit scene. So I shifted the rectangle into a three-dimensional box — a space where the landscape could exist rather than just sit flat on the page. Suddenly, drawing the direction of light became far easier. I could imagine how the light behaved if the side light sat high or low, and how its movement changed across the surface.
As I began to grasp this more clearly, something shifted. Instead of standing within the landscape and looking toward the sun, trying to work out what it was doing, I found myself positioned outside the light source, observing it from a distance. That change in perspective felt like the flick of a switch — the moment where light stopped feeling abstract and started to make sense.
Understanding spread and strength
Next came the question of spread. I found myself having long conversations in my own head — should spread come before strength, or does one dictate the other? For a while I searched for a clear rule, but what I eventually realised was that there isn’t one. A strong light doesn’t always mean full coverage; it could just as easily be a focused beam. Equally, a softer light can still travel far and wide — the difference lies in how gently the highlights and shadows are held.
So this part of the process became less about fixed answers and more about the feeling I wanted to convey.
Within my 3D box, I began adding more arrows to show how the light was spreading — its coverage across the landscape. I would then consider the strength of the light, returning to thicken the arrows where the light felt stronger. For the first time, I could clearly visualise where light was falling and how it was behaving. I began to notice recurring patterns — diagonal beams, soft horizontal bands, heavy skies, glowing horizons, or broken patches of illumination. These weren’t strict categories, but familiar ways light seemed to organise itself once direction, spread, and strength were in place.
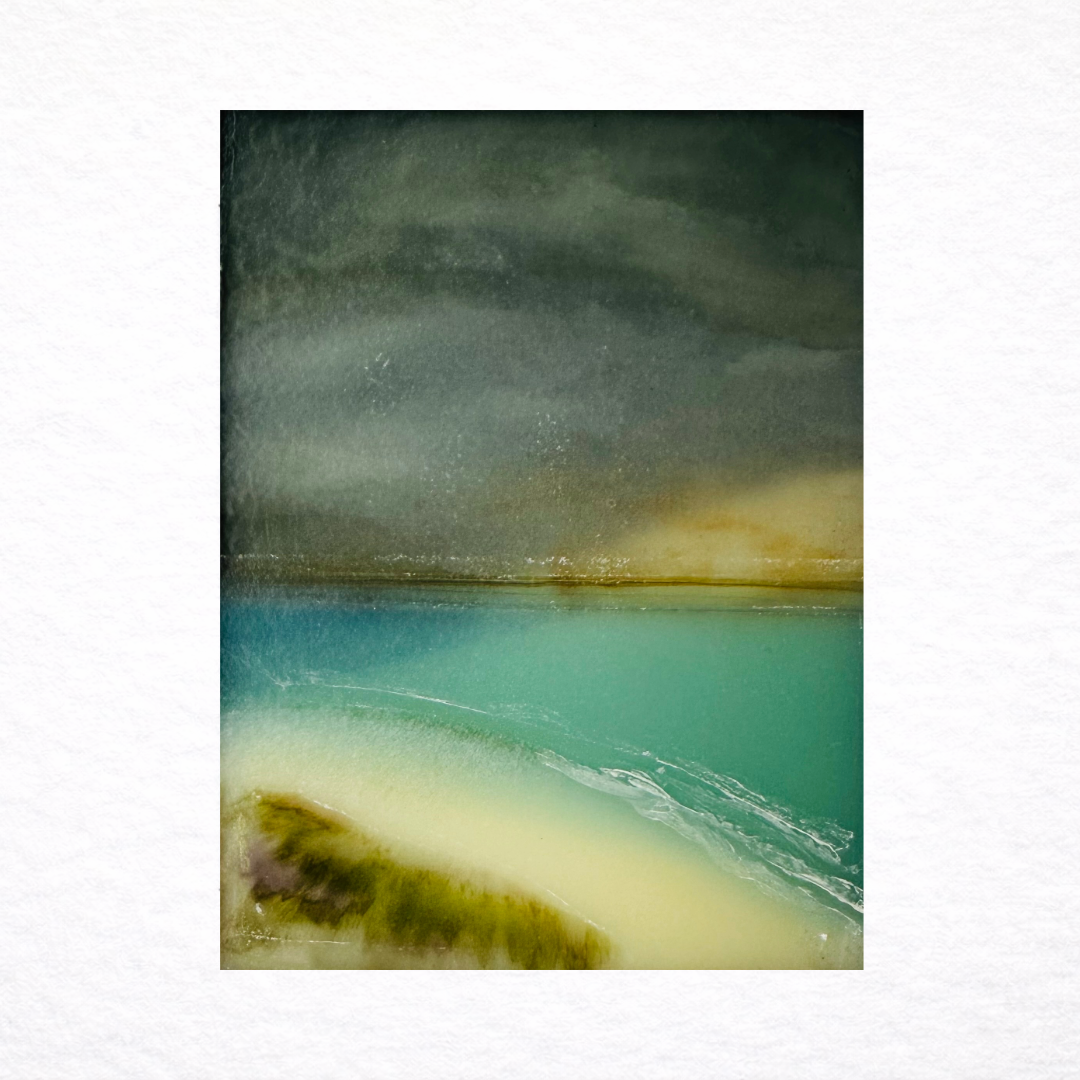
Looking back at a finished coastal piece I had scaled up from a pendant, I realised I had created it believing the light was arriving from the right. But when I began to reverse-engineer it through my arrow system, something shifted. The brightest intensity actually sits beyond the horizon line, pushing light forward rather than across the scene.

What I had interpreted as sideways illumination was really the result of a back-lit source creating a reflective glow that spreads horizontally until it meets the darker storm clouds. By stepping outside the image and mapping direction, spread, and behaviour, the structure of the light became clearer — a quiet logic hidden within the finished work.
Moving forward with light
Now comes the small matter of translating that into new glass pieces, whether designing from scratch or scaling up my favourite pendants. Although I need to keep reminding myself that I’m creating a feeling of light, not a perfect replication of it, I really do believe I can interpret and visualise the scene using my 3D box and arrow methodology. This will allow me to collapse it back into a 2D form — but this time carrying far more information and understanding with me.
Well, this is how I’m choosing to move forward with understanding light in my work. Who knows whether the way my brain makes sense of it will resonate with others, but perhaps it might encourage you to pause and ask yourself — how do you see light?
This is Episode 16 in my ‘Solo Show Diary’ series — a behind-the-scenes look at how my work develops. You can find my earlier posts here.